Host a Free Ghost Blog on Heroku — updated!

Ghost is a free, open-source, and beautiful piece of software that allows you to write and publish your own blog — while keeping out of the way.
Heroku is a Platform as a Service (PaaS) that helps you build, run, and scale apps. It’s ‘Cloud computing designed and built for developers.’
Both are rather popular these days, and when a developer decides to use Ghost, the first thing that may occur to them is to deploy it to Heroku. That’s what I did; however, Ghost does not officially support Heroku, at least, not yet. Some additional setup is required.
Ghost has excellent documentation for installation on supported platforms, and there are a number of other guides specifically describing how to get Ghost to play nice with Heroku. But at the time when I first started using Ghost I was unfamiliar with most of the NodeJS ecosystem, and new to Heroku as well. I was up late into the night troubleshooting, and had to cross-reference most of the guides written on the subject to get all the necessary steps. I am going to try to collect everything you need into one concise guide. Let’s get started!
Outline
The rough steps we’ll take in this guide:
- Install Ghost Locally (as per the official instructions)
- Setup Heroku
- Sign up for a free Heroku account (if you don’t have one)
- Install Heroku toolbelt & login to heroku
- Initialize
- Add a .gitignore file
- Initialize empty git repository
- Create heroku app
- Setup PostgreSQL Database
- Add Heroku PostgreSQL addon
- Promote your new Postgres Database
- Set database credentials as environment variables (for security)
- Configure Ghost for Heroku + PostgreSQL
- Create Procfile
- Update production configuration in config.js
- Deploy
- Troubleshooting
- Extras
- Install classy theme
- Set up mail (with Mandrill)
- Conclusion + comments
Install Ghost Locally
Follow the official Ghost Installation Guide to get the latest version of Ghost running on your computer.
Note: it isn’t mentioned in the Linux install documentation that you have to rename config.example.js to config.js for Ghost to run. You can do that manually or use the command mv config.example.js config.js.
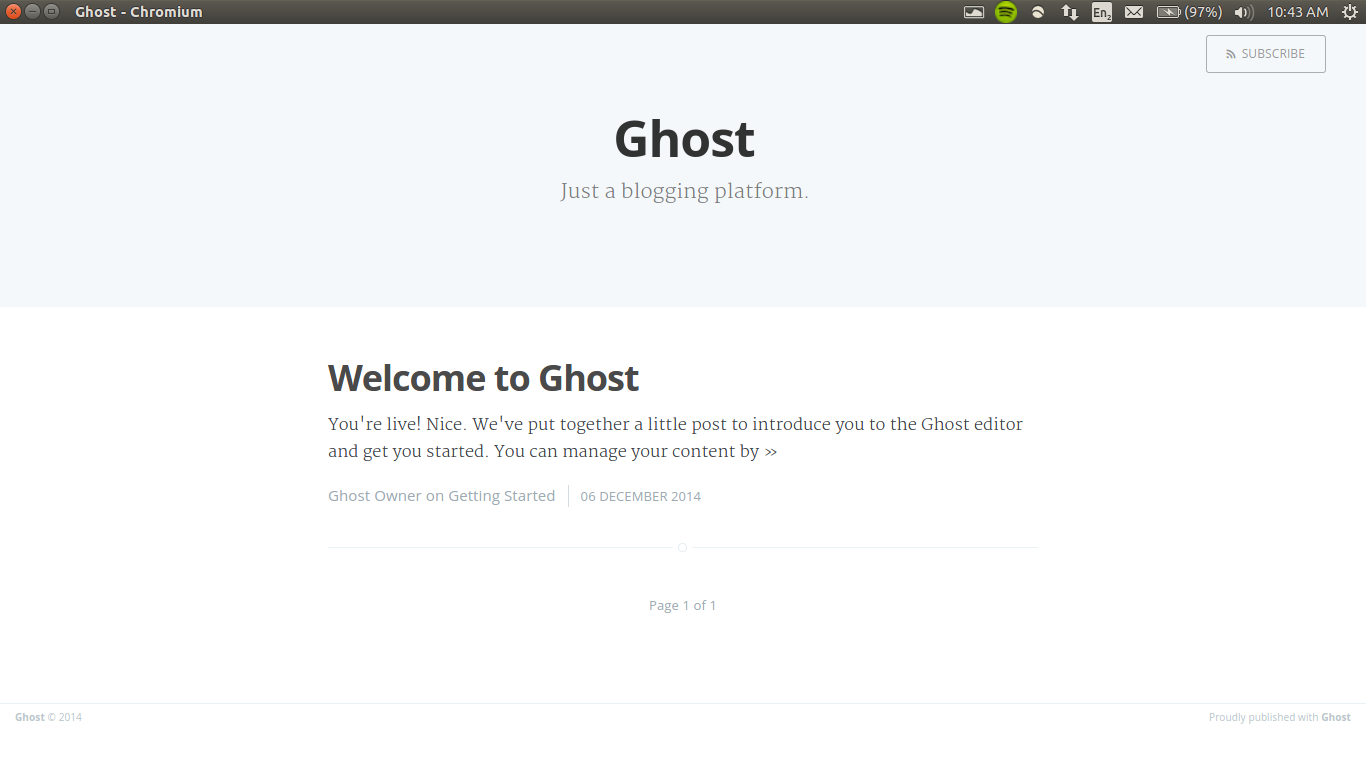
When you’re done, you should have an brand new Ghost blog running at 127.0.0.1:2368. It will look about like this:

Setup Heroku
If you haven’t used Heroku before, sign up for a free account at Heroku.com.
Install Heroku Toolbelt
Head over to https://toolbelt.heroku.com/ and install the Heroku Toolbelt. It is available for Mac, Windows, and Linux, and includes everything you need to get started with Heroku.
Login to Heroku
Enter into the command line:
heroku login
… and login with your Heroku username and password.
Initialize!
Next, we’ll initialize a Git repository and Heroku application. Move into your blog’s directory with the command:
cd /path/to/ghost
Replacing path/to/ghost with the path to where you downloaded, extracted, and installed Ghost.
Add a .gitignore
The node_modules folder is huge. It’s not needed on the server and you don’t want to have to upload that many files every time you deploy. Create a .gitignore file and add node-modules to the list. On Linux you can do that by running:
sudo echo node_modules > .gitignore
Run git status to make sure node_modules isn’t listed anywhere.
Initialize Git Repository
Heroku uses Git, so we’ll need to initialize a repository with the commands:
git init
git add --all
git commit -m "Initial Commit"
Create Heroku App
With the command:
heroku create your-app-name
Note that your-app-name becomes your free herokuapp.com subdomain; in my case I ran heroku create mnml which put my app at http://mnml.herokuapp.com
Set up PostgreSQL Database
Ghost uses SQLite by default, which is a file based database: the Heroku filesystem in ephemeral, meaning that it wipes all files at each deployment. So we need to setup a Heroku PostgreSQL database and then configure Ghost to work with it.
Add the PostgreSQL Heroku add-on with the command:
heroku addons:add heroku-postgresql:dev
This command will output something like Attached as HEROKU_POSTGRESQL_TEAL_URL
Remember the colour (in my case, TEAL), because it will be used in the next step.
Note: you may need to specify which app year are adding the Postgres addon to, making the command:
heroku addons:add heroku-postgresql:dev --app your-app-name
Promote the Database
heroku pg:promote HEROKU_POSTGRESQL_TEAL
Change TEAL to whatever colour was output in the last step.
Set Heroku Config
Head over to Heroku Postgres Dashboard and click on the database you just created. Then run the following commands with the connection information from your database dashboard:
heroku config:set POSTGRES_DATABASE=<value>
heroku config:set POSTGRES_HOST=<value>
heroku config:set POSTGRES_PASSWORD=<value>
heroku config:set POSTGRES_USER=<value>
heroku config:set MY_URL=http://your-url.com
heroku config:set NODE_ENV=production
(You can run all these at once; I’ve just put them as individual commands for clarity.)
Configure Ghost for Heroku
Create Procfile
Heroku needs a Procfile to configure which processes to run. Create the file in the root directory of your ghost install called Procfile and add web: NODE_ENV=production node index.js to the first line. On linux, you can do that with:
echo "web: NODE_ENV=production node index.js" > Procfile
This specifies that Heroku will run ghost in production rather than development mode, which means that it will use the Postgres database we’re about to add to the production section of config.js, rather than SQLite, which the local development copy will still use.
Update Production Configuration in Config.js
Open config.js (in the root directory of your Ghost install) in your preferred text editor.
On line 50 of the default Config.js file you’ll find production: { . This is the section we need to edit.
Change line 51:
url: 'http://my-ghost-blog.com',
… to your url. It will be whatever you specified as your app name when you ran heroku create followed by .herokuapp.com . In my case I specified mnml as my app name, so my url will be:
url: 'http://mnml.herokuapp.com',
Right below that line, add:
fileStorage: false,
so that you won’t accidentally upload images and have Heroku delete them.
Next, update the database connection from:
database: {
  client: 'sqlite3',
  connection: {
    filename: path.join(__dirname, '/content/data/ghost.db')
  },
  debug: false
},
to
database: {
  client: 'postgres',
  connection: {
    host: process.env.POSTGRES_HOST,
    user: process.env.POSTGRES_USER,
    password: process.env.POSTGRES_PASSWORD,
    database: process.env.POSTGRES_DATABASE,
    port: '5432'
  },
  debug: false
},
And the server section from:
server: {
  host: '127.0.0.1',
  port: '2368'
}
to:
server: {
  host: '0.0.0.0',
  port: process.env.PORT
}
Deploy!
Everything should be in order. Add, commit, and deploy your changes with:
git add --all
git commit -m "Configured Ghost for Heroku + Postgres"
git push heroku master
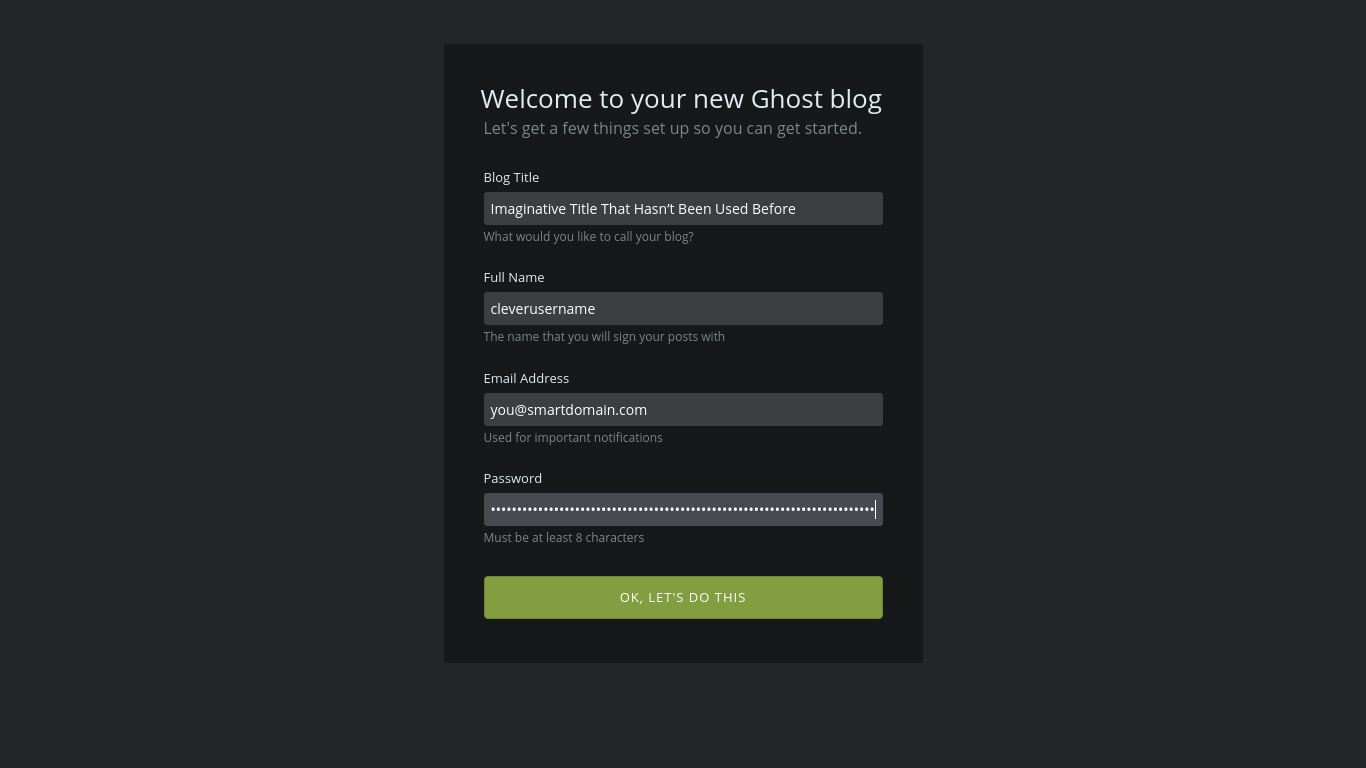
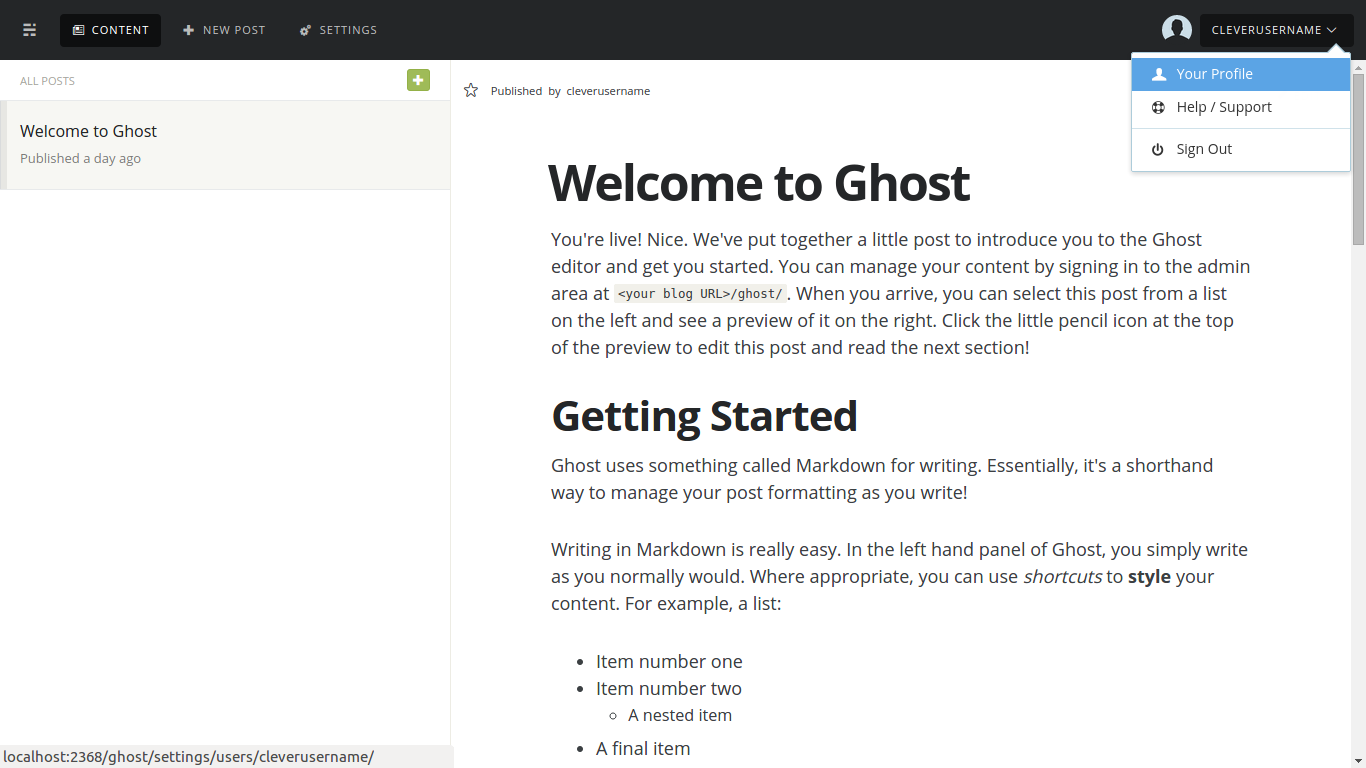
BINGO! Your app is live! After setting up your blog name and user account — as shown below — you’ll be ready to go.
{<4>}
{<5>}
* The above images may or may not show the latest Ghost version; I won’t have time to update them with each release, but they show roughly what you’ll see when Ghost is installed.
Troubleshooting
This is web development: there’s a good chance that your blog isn’t actually live yet.
If you deployed git push heroku master, but your app crashed and gave an ugly, unhelpful message:
{<6>}
The solution will most likely lie in the Heroku logs. Get them with the command:
heroku logs
Fixing Nodemailer / xmlbuilder issue
Nodemailer was updated as of Ghost v0.5.5, and comes with a new dependency, aws-sdk. When installing or upgrading recent versions of Ghost, the aws-sdk dependency threw errors about the xmlbuilder module when I tried to deploy to Heroku. If you have this problem, you can fix it by opening package.json and updating the line:
"nodemailer": "0.7.1",
to
"nodemailer": "0.6.5",
and re-deploying.
Other possible issues
-
You get 750 free ‘dynamo hours’ per month with a (free) Heroku account — that is, hosting for one free app with one dynamo and few extra bells and whistles. I had to use my personal Heroku account for this demo, since the joint account hosting this blog was already … hosting this blog (for free)!
-
Make sure the folder permissions on your Ghost folder are lenient, or be prepared to run most commands as superuser.
-
For some reason I had to append a lot of Heroku commands with
-a my-app, which I didn’t need to do when I set up Autodidacts.io. It may have been the result of having another (idle) test app on the same account.
If you have an issue and can’t figure out what’s wrong, post the error from the Heroku logs and any relevant details in the comments and I’ll try to help out!
Extras
This will get you a functional but bare-bones install of ghost. Here are a few other things you may want to do while you’re at it:
Install a handsome Theme
The default Ghost theme is Casper. There’s nothing wrong with it, but it’s a fairly bland and quite overused. If you want to class things up a bit you can install a fresh theme.
Naturally, I would recommend one of the themes I designed:
MNML is the free & open-source theme Ghost theme installed on the demo site for this tutorial:

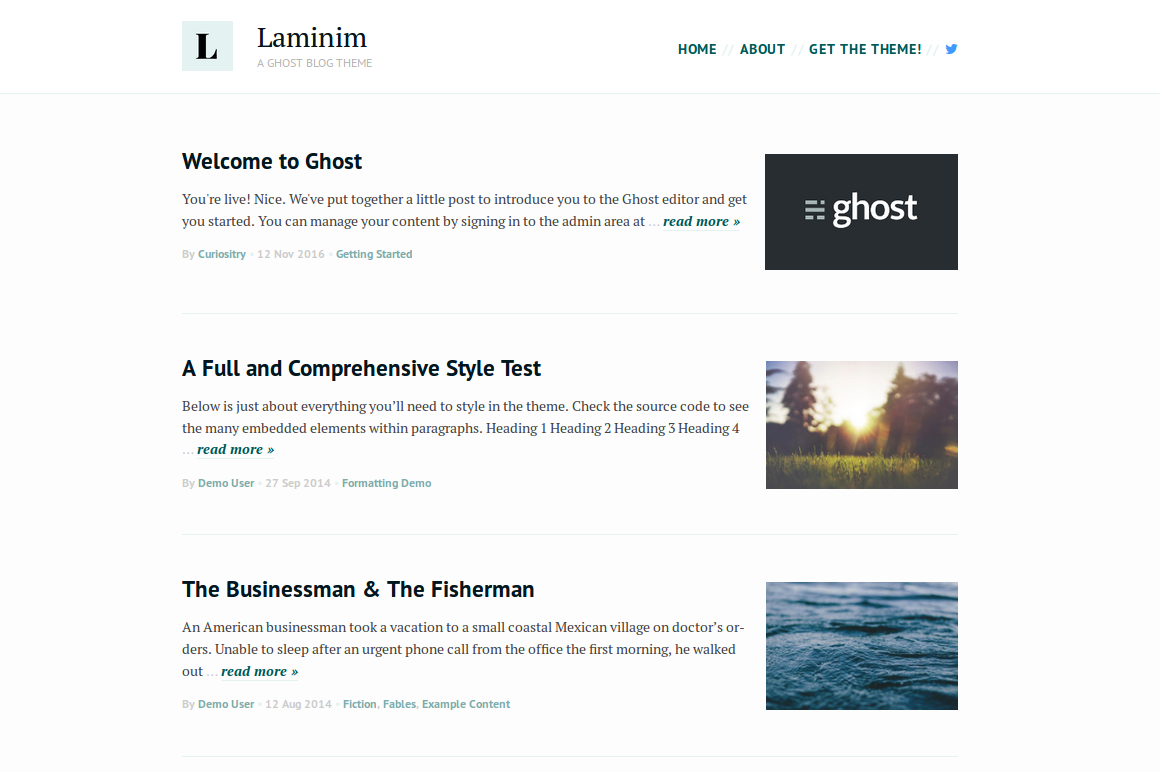
Laminim is a clean, well-crafted, fully featured premium Ghost theme for bloggers and wordsmiths. Laminim is the theme running here on The Autodidacts:

Copy (or clone) the theme of your choice into PATH/TO/GHOST/content/themes (replacing "PATH/TO/GHOST" with the path to your ghost directory) and activate the theme from your blog’s admin panel under the General settings tab.
For mnml, you would clone it — assuming you are in the root of your Ghost directory — with the commands:
cd content/themes
git clone https://github.com/curiositry/mnml-ghost-theme
Or you could download the .zip below and copy it into the themes folder.
Also, you can find (shameless plug) other nice Ghost themes on the open-source Ghost Themes Directory (yes, I built that…)
A note of caution: Ghost now lets you upload themes from the admin panel of your blog. This does not work on heroku, because Heroku’s filesystem is ephemeral. It will all work fine for a few hours and then Heroku will silently delete your theme and you’ll be up a creek. If you’re using a custom theme you need to git push it to heroku.
Set up mail
Configuring email for Ghost means that you can invite other users and recover your password. I used Mandrill. If you sign up for a mandrill account and change the mail section of config.js to look like this:
mail: {
  transport: 'SMTP',
  host: 'smtp.mandrillapp.com',
  options: {
    service: 'Mandrill',
    auth: {
      user: process.env.MANDRILL_USERNAME,
      pass: process.env.MANDRILL_APIKEY
    }
  }
},
and then set environment variables to your Mandrill credentials. The process is very similar with other transactional mail services such as Mailgun and PostMark.
Upgrading (Ghost 0.11.11)
A new version of Ghost was released recently, and some may wish to upgrade their Heroku installs. Here’s how to do it:
Download Ghost 0.11.11
Download Ghost v0.11.11 from https://ghost.org/download and extract the .zip file.
Delete files
Delete the entire core folder, as well as index.js and package.json in the root of your blog’s directory.
Copy over new files
Copy the core directory, as well as index.js and package.json from where you downloaded Ghost 0.11.11 to your blog’s directory.
Test it locally
Make sure it works locally by running:
npm install --production
npm start
and navigating to http://localhost:2368. See a ghost blog? Good.
Update themes
If you’re using the default ghost theme, Casper, delete the casper folder from content/themes/ and replace it with the one included in the Ghost 0.11.11 download.
If you have a swanky custom theme installed — say, Laminim or MNML, for instance — update that as well.
Deploy
git add --all
git commit -m "Update Ghost to v0.11.11 and updated themes"
git push heroku master
Conclusion
I hope this helps make the process of deploying Ghost to Heroku easier to understand and implement.
You can see the site I deployed while writing this (it’s a demo of my free theme at mnml.herokuapp.com. This blog is also running on Heroku (and sporting my premium Ghost theme), and it has survived traffic surges from HackerNews and Reddit without a hiccup — and without having to scale.
If you have any questions or suggestions, leave a comment below, find me on Twitter, or send a message — I may be able to help. Thanks for reading!
